This article explains how to create and manage a schedule of rates which is a pre-agreed list of prices for specific, standard construction tasks used by local authorities to calculate the cost of home adaptations. Instead of getting multiple bespoke quotes for every small job, the council uses these fixed rates to ensure consistency, value for money, and faster approval times for adaptations like stairlifts, wet rooms, ramps etc.
TABLE OF CONTENTS
Produce a schedule of works
- Click the add new schedule of works icon.
- Click Yes in the pop up box.
- Use the Work Status drop down to assign it, mark it as completed or cancel it.
- Add a description.
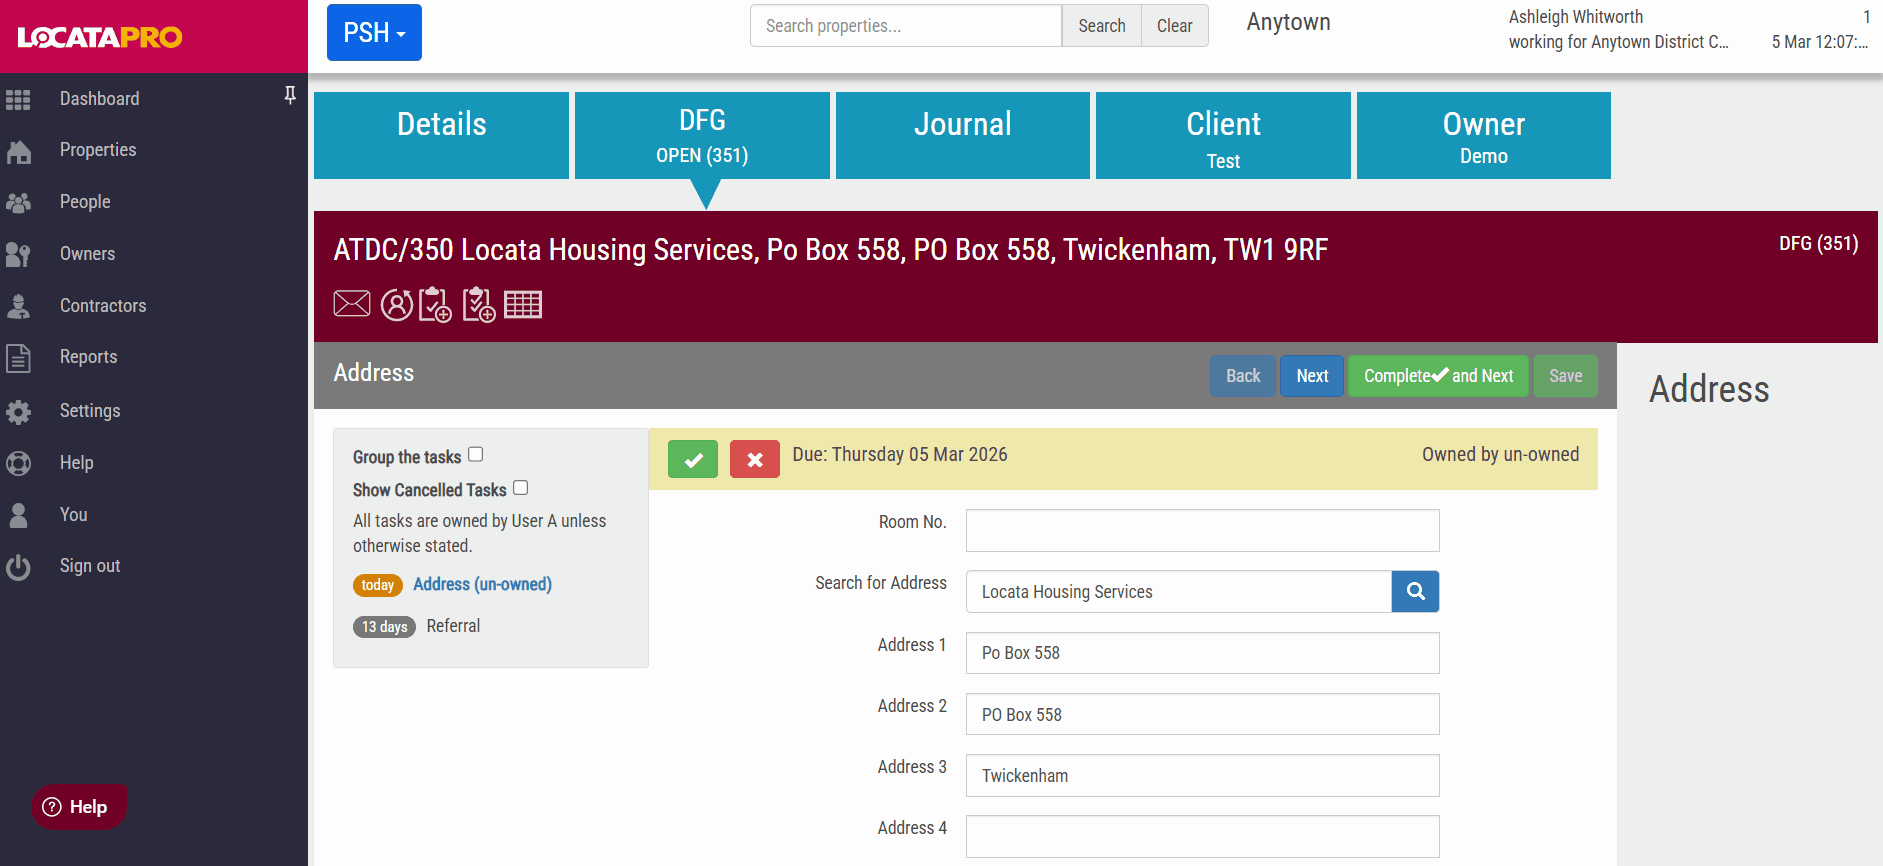
- Click the blue + next to a heading or search in the search bar in the right hand blue box, these can be controlled in Settings. This will show the subitems under that heading. You can click Show more to see more information about the subitem or click add to add the subitem into the works.
- It will add the default information. If you need to change this, click Edit next to the subitem. Make any changes and click Save.
- When you are happy with the schedule, click on the assign a contractor to the schedule of works icon. Select a contractor and then click Save. The work status will now be updated to Assigned.
- The schedule of works will now have updated to include the Total Cost, Total Payments and Balance Outstanding at the bottom. You can print the schedule of works by clicking the Print icon.
- Click the back to property icon and the schedule of works should show at the top. There will be two buttons, one to go back to the works or another to go into the contractor's details.
- If you click the Schedule of Works tab on the contractor's details, it will show all the schedule of works that have been assigned to them.
Info: Once the schedule of works has been created you can then select a contractor to assign the work to.
Managing the schedule of works
- Click Settings on the left hand side.
- Click Schedule of Rates under Other.
- Click on a schedule and it will show all the different headings.
- Click the show items button next to a heading. You can edit or delete an existing item by clicking the Edit or Delete button next to the item.
- Click + add an item to add new items. Click + add sub heading to add a new sub heading. Click + add heading to add a new heading.

Was this article helpful?
That’s Great!
Thank you for your feedback
Sorry! We couldn't be helpful
Thank you for your feedback
Feedback sent
We appreciate your effort and will try to fix the article