This article explains the principle of Completion Rules. When a user completes a task, Completion Rules determine whether or not additional parts of a workflow are triggered and load into the case/client/application record. You can utilise your own custom tasks, questions and completion rules to create detailed workflows matched to your local processes. In order to manage tasks and questions, you'll need the relevant permission - explained in this article: Managing Workflows - Permissions.
TABLE OF CONTENTS
- Creating New Rules
- Creating the Rule Triggers
- Adding a new task type to default tasks on HRS
- Using Completion Rules to Send or Create Correspondence
- Related Articles
Creating New Rules
When editing any task, a fourth menu appears called "Completion Rules". Within this menu, users can view existing rules relating to that task and add new ones. We add rules against the task which will trigger the rule under specific scenarios being met. Follow the steps below to learn how to add rules:
- Select the task you'd like to add a rule to.
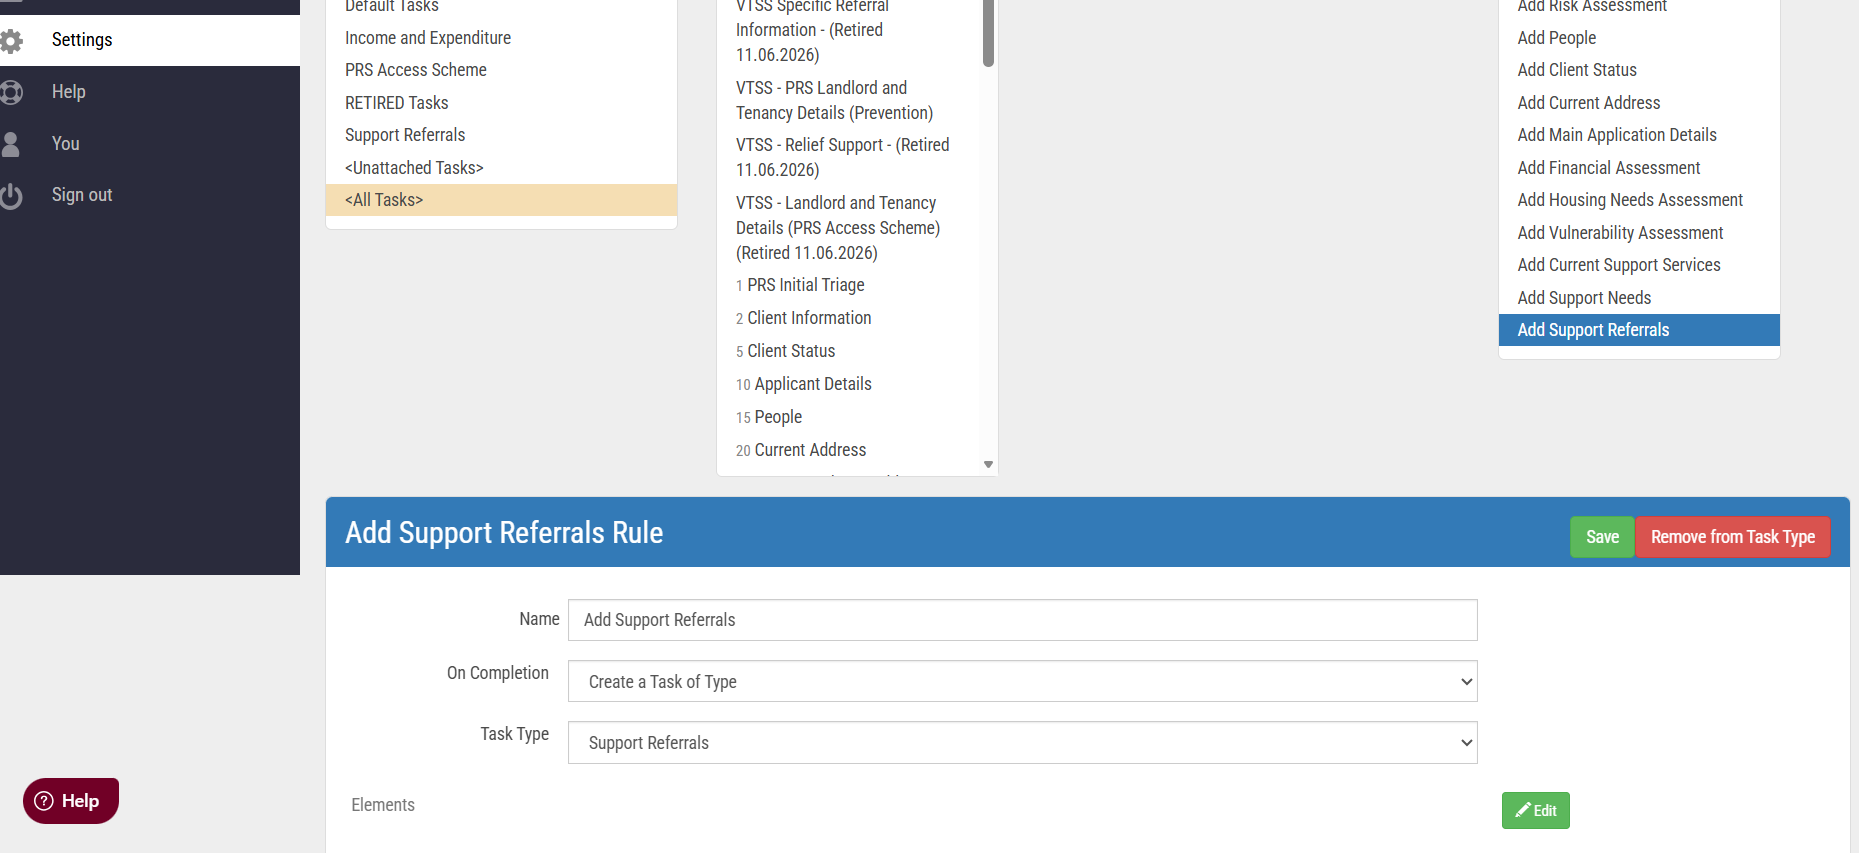
- Click "Add" on the Completion Rules menu - this adds a new configuration panel at the bottom of the page. You may need to scroll down.
- Give your rule a name (something that gives an idea as to what the rule does).
- Choose what happens "On Completion" of the rule i.e. when it is triggered.
- Choose which task or task group is added to the record when the rule is triggered.
- Click "Save".

Did you know: Task Groups can be used to trigger multiple tasks at the same time, otherwise we would need to create a rule to generate each task individually.
Creating the Rule Triggers
We've created the rule, which includes what happens when the rule is met. What you'll notice is after clicking save, a new "Element" option appeared within the rule. We configure this to determine what needs to happen in order for the rule to be considered "met" and thereby trigger the generation of the task or task group defined in the rule. To define the triggers follow the below steps:
- Click "Edit" on the Elements menu.
- Use the filters to find the questions which would trigger your rule.
- Set the filters which must be true in order to trigger the rule.
- Click "Save".

Note: The question you are filtering your new rule on needs to be within the task which you are creating the rule within. The system runs completion rules when a task is marked as completed.
Well done, you've created your completion rule!
Adding a new task type to default tasks on HRS
If you would like to add a new task type to the default tasks group on HRS, you need to create a completion rule for it to show.
- Create the task group as you would on HPA2.
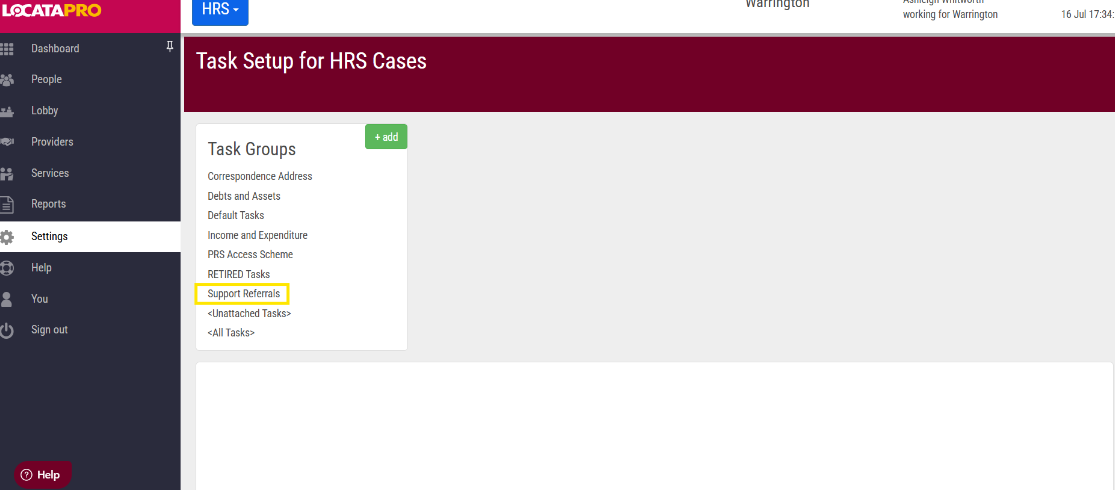
- Click <All Tasks>.
- Create a HRS Default Task Type.
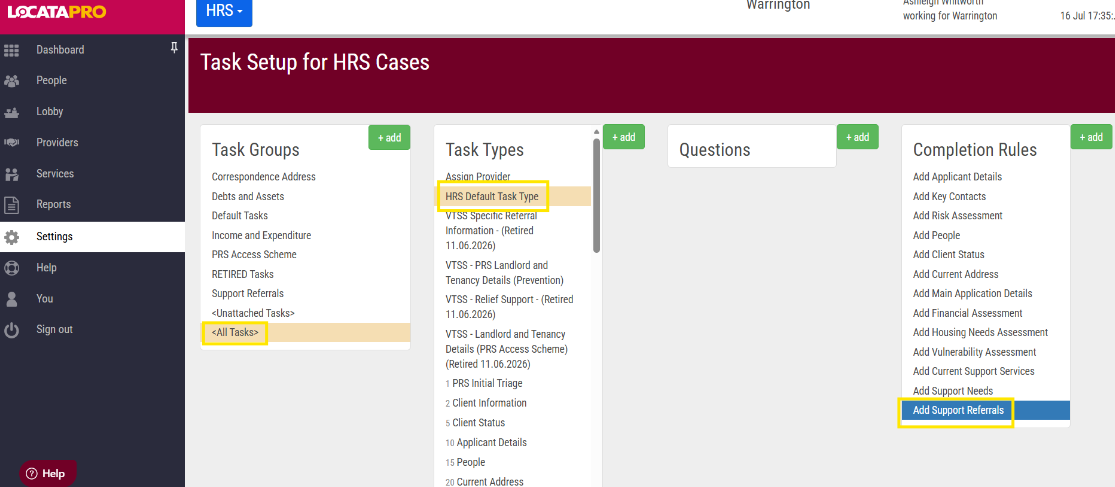
- Create a completion rule for task type you would like to show in the default tasks.
Note: This only applies to HRS.
Using Completion Rules to Send or Create Correspondence
This section explains how to set up completion rules that automatically send or create correspondence, using templates within the Locata system.
Completion rules can now trigger either an automatic send or the creation of correspondence when a task is completed. Both require a linked template. To do this:
- Go to the relevant task where you want to apply a completion rule.
- Click "+add" in the Completion Rules section. Enter a name.
- In the "On Completion" dropdown, choose either:
Send Correspondence – this option sends an email or SMS (if you have that functionality) automatically using the linked template once the task is completed.
Create Correspondence – this opens the template for editing before sending (typically used for letters).
Select the appropriate template by clicking "Select Template".
Find the template you wish to use and click "Save".
Save your changes to the completion rule.
Click "Edit" next to Elements.
Under Case, select "Send email/SMS".
Select "is true".
Click "Save".
Then save the updated changes to the completion rule.

Note: The system will only trigger the completion rule if a valid template is linked. Email templates are sent automatically; letter templates will open for review before sending.
Related Articles
Was this article helpful?
That’s Great!
Thank you for your feedback
Sorry! We couldn't be helpful
Thank you for your feedback
Feedback sent
We appreciate your effort and will try to fix the article